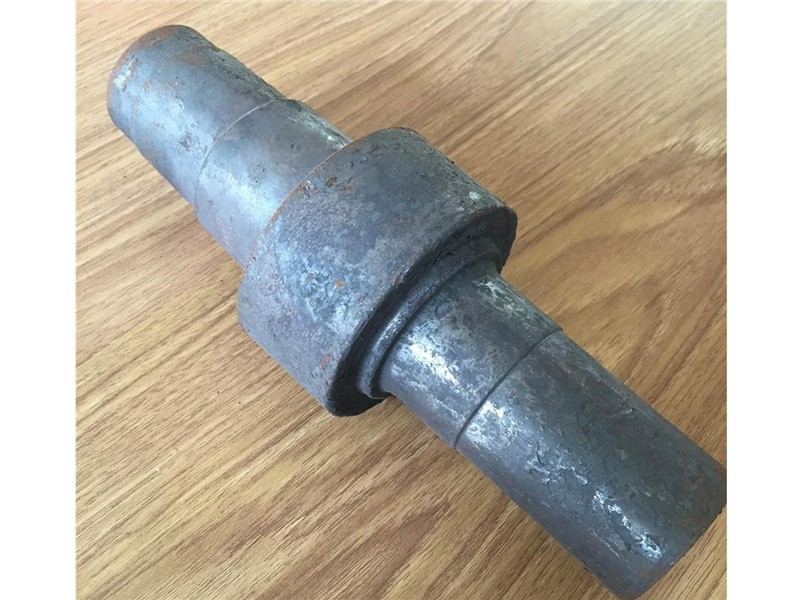
Shaft Forging
shaft forgings
I. product introduction
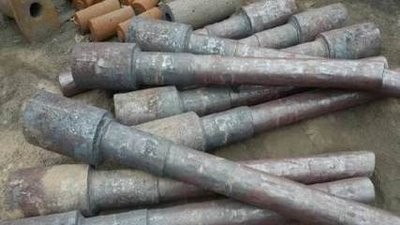
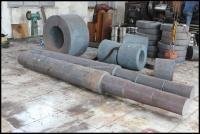
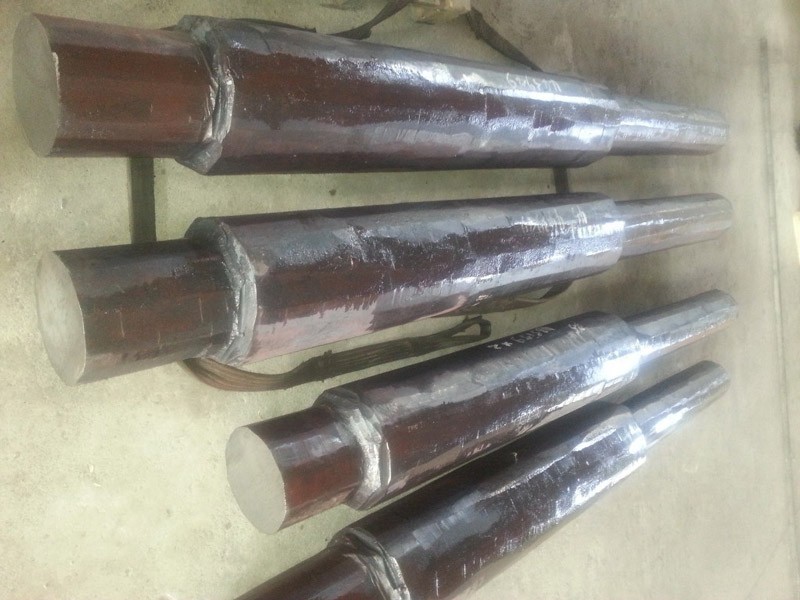
Shaft forgings are cylindrical objects inserted between bearings or wheels or gears, but some are square. Shaft forgings are mechanical parts that support rotating parts and turn with them to transfer motion, torque, or bending moment. It is usually a round metal rod with different diameters. The rotating parts of the machine are mounted on the shaft forgings.
Ii. Product parameters
1) dimensional accuracy the dimensional accuracy of shaft parts mainly refers to the dimensional accuracy of shaft diameter and shaft length. According to the requirements of use, the diameter accuracy of the main journal is usually it6-it9, and the precision journal can be up to IT5. The dimension of shaft length is usually specified as nominal dimension, and the length of each step of step shaft can be given a tolerance according to the requirements of use.
2) geometric precision shaft parts are generally supported on the bearing by two journal, which are called support journal and also the assembly datum of the shaft. In addition to the dimensional accuracy, the geometric accuracy (roundness, cylindricity) of the support journal is generally required. For the general precision of the shaft neck, the geometric shape error should be limited to the diameter tolerance range, when the requirements are high, the allowable tolerance value should be specified separately on the part drawing.
3) accuracy of mutual position matching journal of shaft parts (the journal for assembling transmission parts) relative to the coaxiality of the support journal is a universal requirement for accuracy of mutual position. In general, the radial circular runout of the shaft neck with the matching precision is 0.01-0.03mm, and the high-precision shaft is 0.001-0.005mm.
In addition, the mutual position accuracy has the coaxiality of the inner and outer cylinder, the perpendicularity of the axial positioning end face and the axis line. 2, surface roughness according to the precision of the machine, the high and low running speed, shaft parts surface roughness requirements are not the same. In general, the surface roughness Ra of the support journal is 0.63-0.16 microns. The surface roughness Ra of the matched shaft neck is 2.5-0.63 mu
Iii. Product advantages
Shaft, sleeve and disk parts are typical parts with cylindrical surface. The common machining methods for the outer surface include turning, grinding and various finishing machining methods. Turning is the most economical and effective machining method for outer circular surface, but in terms of its economic accuracy, it is generally suitable for rough machining and semi-finishing machining of outer circular surface. Grinding is the main finishing method of the outer surface, especially suitable for all kinds of parts with high hardness and quenching. Finishing machining is an ultra-precision machining method after finishing (such as rolling, polishing, grinding, etc.), which is suitable for some parts with high precision and surface quality requirements. Due to various processing methods can achieve economic processing accuracy, surface roughness, productivity and production cost are not the same, so must according to the specific situation, choose a reasonable processing method, so as to process qualified parts to meet the requirements of the parts drawings.


